I love to make decorations for cakes and cupcakes out of gum paste and fondant. I don’t love how awful they taste. I hate having to warn that although the toppers are edible; they are not “eatable”.
It’s inevitable; even with the warning, there will always be the one kid, and you’re lucky if its just one kid, that eats a topper.
I was hired to make small cake and mini cupcakes for a fairy themed birthday party for a four year old. There I was trying to figure out what kind of decorations to make and all I could picture was the look on a four year old’s face after eating an icky, chalky tasting topper. Did I want to be the reason that poor kid was traumatized by cupcakes? Not so much.
Then thelight bulb went on in my head….Candy Clay.
Have you heard of candy clay? It is a soft, easy to work with dough made from candy melts and corn syrup. It can be molded & rolled out just like fondant or gum paste. The best part………IT TASTES GOOD!!
How to make candy clay
Ingredients:
- One bag of candy melts
- 1/3 cup corn syrup
Directions:
- Using a double boiler, melt the candy melts until smooth and there are no lumps
- Remove from heat and stir in the corn syrup. The chocolate will start to stiffen. Keep stirring until you have a soft dough
- Turn the dough out onto a piece of plastic wrap & press out to form a sheet
- Cover and let sit on the counter over night, to harden
Once the candy clay has set, kneed it until soft enough to roll out or mold. At this point you can color the candy clay with gel icing color. (It might be easier and less messy to buy colored candy melts if you are only planning to useone or two colors).
If you are planning on rolling the candy clay out spread a little bit of corn starch on your work surface and rolling pin to keep it from sticking.
The heat from your hands may cause the candy clay to become a little bit too soft; if that happens, just set it aside for a few minutes and it will harden again.
I wish I had thought to take step by step pictures of this process, but alas, I was in a time crunch and didn’t. Never fear there is a great step by step video by Karen’s Cookies here.
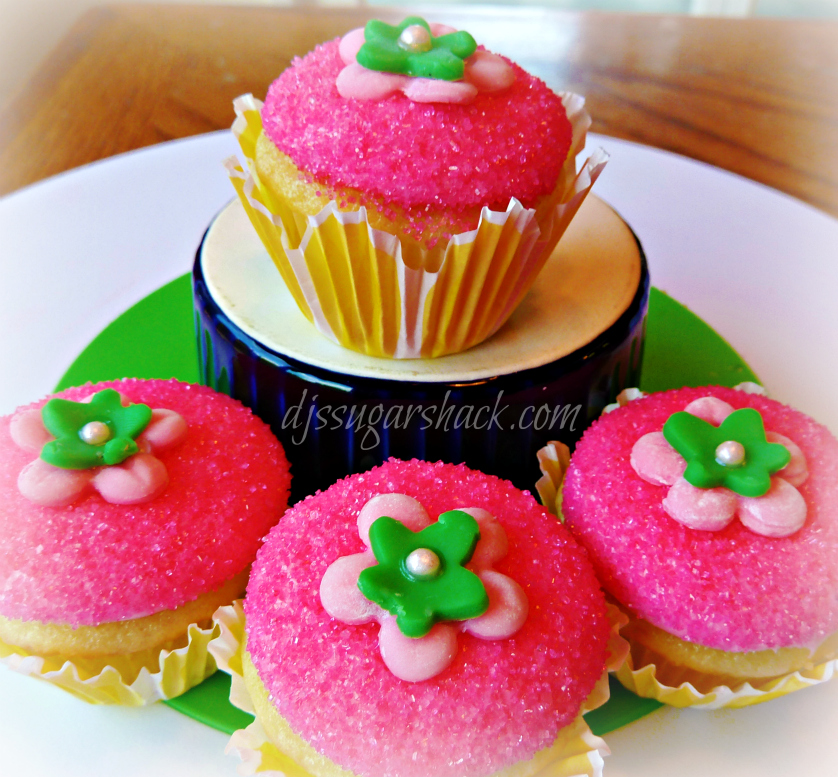
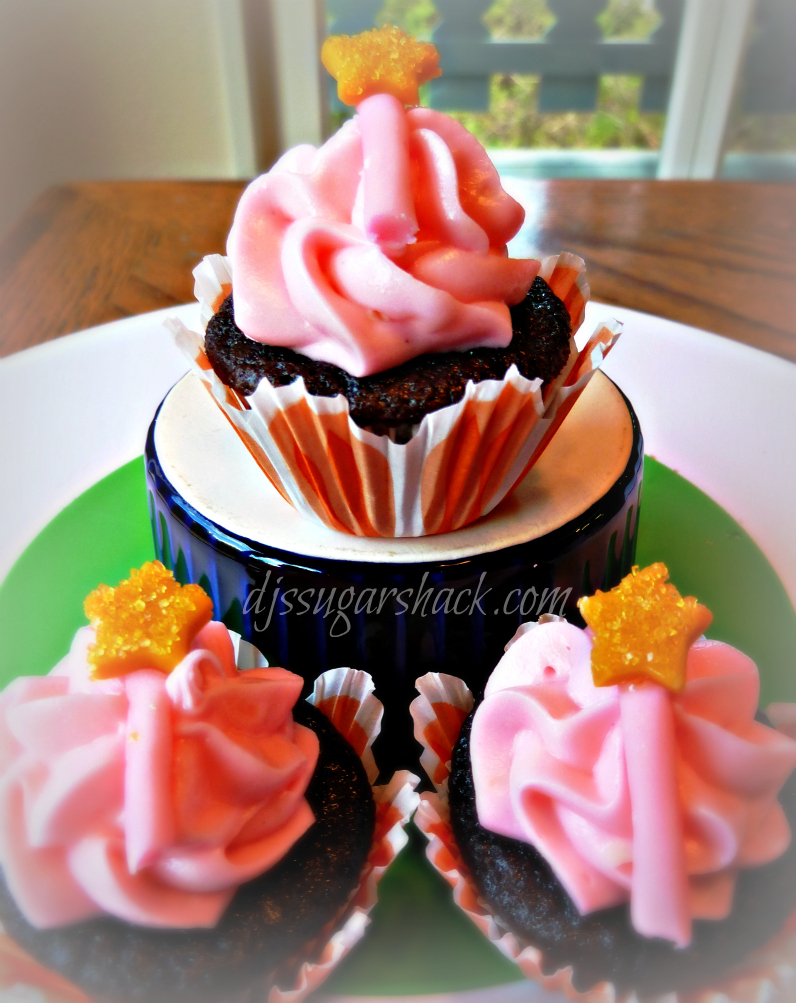
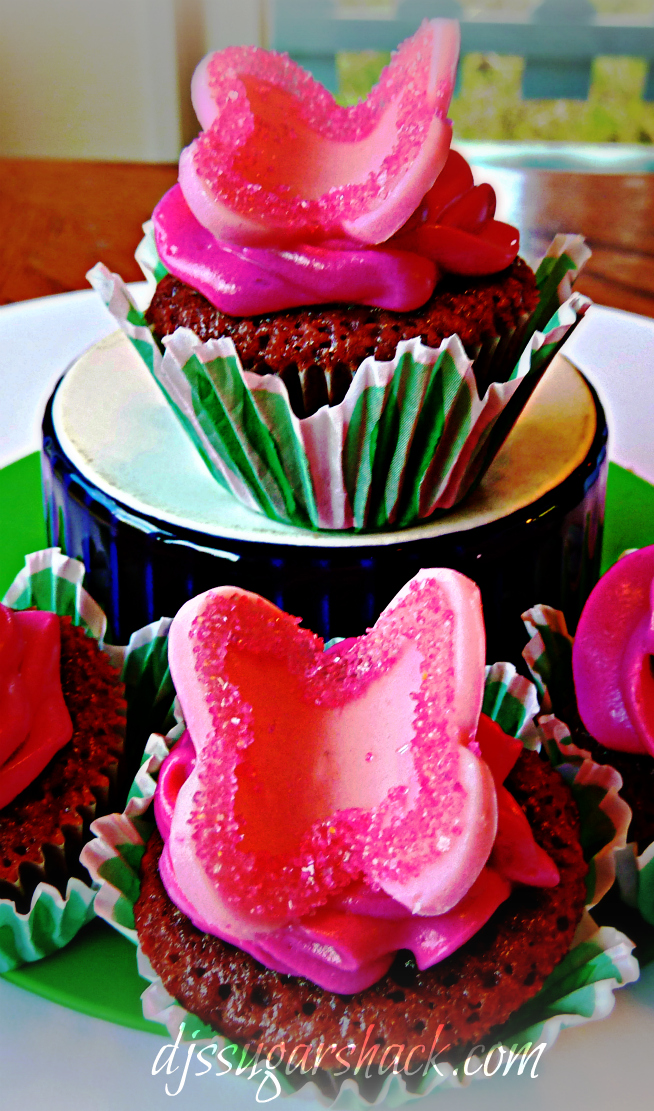
Now lets check out some of the decorations I made.
‘The used piping gel to “glue” the flowers and pearls together.
I also painted piping gel onto the stars to get the sanding sugar to stick.
And last, but certainly not least here is the small cake
The fairy and the mushrooms were molded out of gum paste. Some of the reviews I read on candy clay made it seem that larger moldings might not hold up quite as well as fondant. After working with the candy clay I’m confident that the candy clay would have worked for the fairy and mushrooms.
Here’s a better view of the top of the cake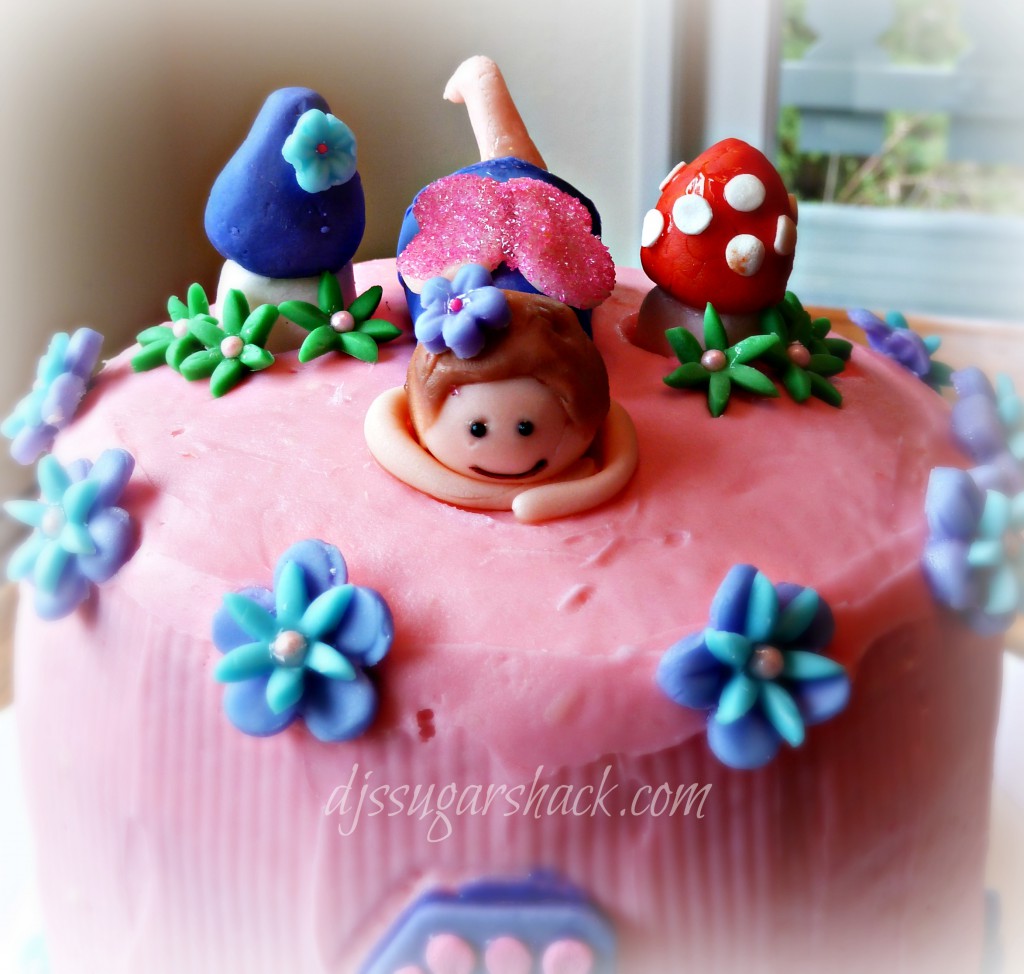
Isn’t the fairy the cutest thing ever?
